
Mac OS 68k Emulation
I always wanted to play those good old games from 1980-1990 on my old Mac. But booting and reinstalling it would be a pain.

Fortunately there are tons of emulators around… unfortunately, they’re all far from perfect. Getting things working is rather tricky!
There are also tons of “how to” do that, but none seems to get things right… so… here we are.
What you need
For Mac OS 7, 8 and 8.1
- BasiliskII JIT Emulator (also get SDL and GTK+ libraries as required from the page)
- Avoid SoftMac like hell. It crash and freeze all the time =(
- Mac OS 8 or 8.1 CD (cost money) or Mac OS 7.5.3 (free, get every image on this page) (update to 7.5.5 if you like)
- A boot disk (or a better one, but unofficial - take the file System 7.5.5.dsk from this archive)
- A Quadra or equivalent ROM a you can extract it from an old mac or download it if you already own a Quadra (else, this is illegal - I do not host these files nor endorse responsability if you decide to use them)
- Games !
For Mac OS.. err System 6
Note: Old black and white games will work only with this - you need the above 7.5 or better system to install the system 6.
- Mac OS 6.0.8 (for older games, take only 6.0.8 images)
- Mini vMac
- A MacPlus or equivalent ROM a you can extract it from an old mac or download it if you already own a Mac Plus (else, this is illegal - I do not host these files nor endorse responsability if you decide to use them)
- Games !
Installation
Warning: Do not expand .bin files from a non-HFS formatted drive, or the files won’t work!
Ok, now you’re warned :p
Tab “Volumes”
Start Basilisk II GUI, make sure the CD-ROM Driver is enable if you wish to use the Mac OS Install CD, make sure that “Enable My Computer icon” or equivalent is also enable to share files with the host system, if you wish to copy over installation files (system 6 and 7.5).
Click “Create” and make new 250 meg disk at least. Also make a separate 40 meg disk for system 6, if you wish to use that.
Click “Add” and select your boot disk (Network Disk Access image or System 7.5.5.dsk)
Tab “Graphics/Sound”
Make sure you get a decent resolution, like 1024x768 here :)
Tab “Memory/Misc”
Get at least 32 megs of ram in this tab. Check Mac Model ID Quadra if you plan to use the Quadra rom, and CPU type 68040 (Mac II and 68030 with FPU otherwise)
Select your ROM file.
Make sure you check “Ignore Illegal Memory Accesses) or Basilisk will crash at startup!
Finally, click “start”. If everything is ok it will boot on your boot disk.
Great!
Lets go on. Mac OS will ask to initialize the new drive(s) that you created earlier. Do so and name them however you like.
Now copy over from your computer the 7.5 and system 6 images to your big 250 meg drive from withing Mac OS. If you have a Mac OS 8 CD, start the installation and install on the big disk. If you used the images, mount them (they’re SMI, aka Self Mouting Image so there is no need to get DiskCopy) and install Mac OS 7.5.
Repeat the procedure for System 6.
Copy over the games while you’re at it, and the System 6 games too. Be careful! Each time you copy or install a new OS, the System 6 disk will lose its boot attributes. Reinstalling System 6 over it fixes that. (So, reinstall System 6 on it when you’re done)
You can now reboot, remove the boot disk (Network Access or System 7.5.5.dsk) from Basilisk Volumes tab, and enjoy your Mac OS 7.5+ old games :)
If Basilisk get stuck, you need to go in the process manager and kill it, there is no “quit” menu :)
System 6
We’re not done yet. What about the games crashing on Mac OS 7.5+ ?
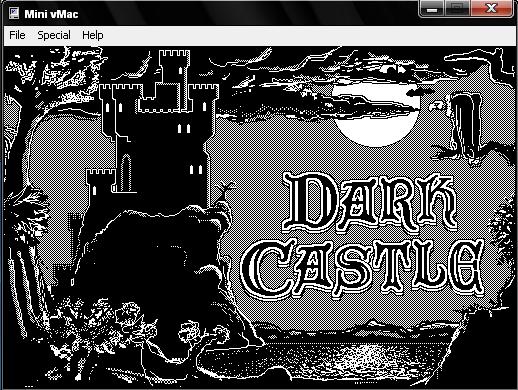
Well that’s why you’ve downloaded Mini vMac.
Rename the Mac Plus ROM to “vMac.ROM” and place it next to the Mini vMac application.
Start it, and go to the File menu, Open Disk Image, and select the System 6 disk you created earlier in Basilisk. Tada, welcome to System 6!
Some games are tricky to play in Mini vMac so make sure you press the Control key + F to get into fulscreen mode.
Control key + Q + Y quits Mini vMac.
Comments